Hello, I Heart My Glue Gun friends!! I am so happy to be participating in Janet's Blog Swap Party. I have not known Janet long but instantly became a follower of hers when I read her blog title. I mean, hello, who doesn't love their glue gun??? Plus, she is super sweet and super creative!!

A little about me! I am Maridith, with an 'a', at Strictly Homemade . I am a wife and a mom to three beautiful children! I am a seamstress, a crafter and a wanna-a-be decorator. I make clothes for my children, gifts for family and friends and almost all of my home decor. It would be safe to say that 90% of my home decor I have either, painted, sewn or mod podged!!
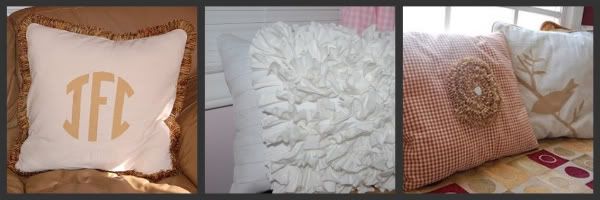
Today, I am going to invade Janet's blog with one of my obsessions ...PILLOWS!! I love decorative pillows and I pretty much make them all the time. Here is a small sample of some pillows I have recently made.
To show my love for pillows and a glue gun (wink, wink), I am going to share with you a
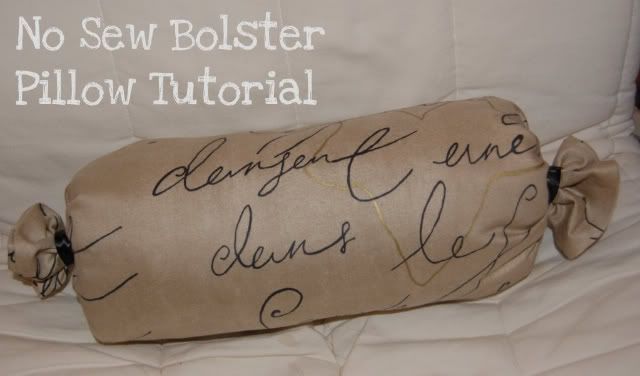
No Sew Bolster Pillow Tutorial
ANYONE can make these!! I promise!!
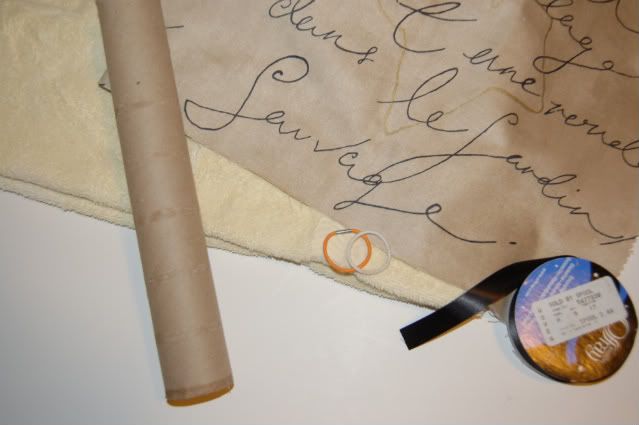
Supplies Needed: Old Towel, Paper Towel Roll, 2 rubber bands, 20"X26" piece of material, ribbon, glue gun (not shown)
To prepare for assembly, cut material 8" wider then a paper towel roll by 26" long mine making it 20X26", use pinking scissors (not necessary but it does finish out the edges nicely without rolling them over twice.)
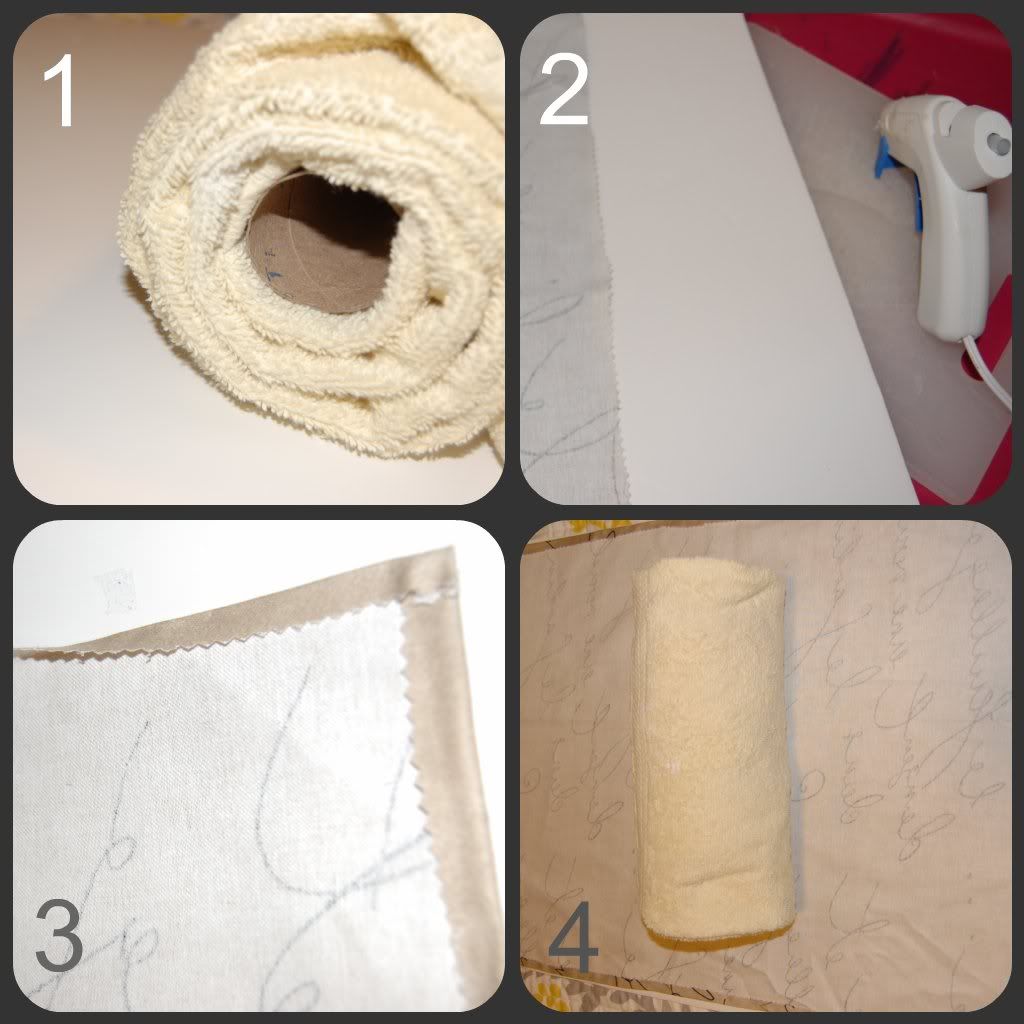
1. Fold towel to be the same width as paper towel roll and wrap towel around roll 2. Heat up Hot Glue Gun and prepare to "sew" 3. Turn over three edges and hot glue down. 4. Center towel/paper towel roll in the center of your hemmed material.
5. Starting with the unhemmed side and start rolling the material around the towel semi-tightly 6. Hot Glue the finished edge to the wrapped material 7. Take a rubber band and tie off one end and do the same on the other 8. Wrap ribbon around rubber band and glue down.

You are done!! Nothing to it!! If you have ever priced out bolster pillows you know they are expensive, with this design you can make them pennies to the dollar!!
I hope you have enjoyed my little tutorial. I would love for you to stop by my blog to see what else I have made Strictly Homemade!! Also, every Tuesdays I have a Linky Party called Strictly Homemade Tuesday where we show off all of our homemade goodies!!
Thanks so much Janet for hosting a fabulous Blog Swap!







What a great idea!! I will have to make a few of those!! My daughter would like to make some for her room, too.
ReplyDelete~cheryl
Thank you for the excellent tutorial. That's the way I like to make pillows.
ReplyDelete